Pages

Oct 18, 12:00


Kotaku Saturday, October 18, 2025 8:37 AM
    

Dell Laptop Cat

Dell keeps steep discounts off its official site, quietly offering this powerful laptop at 65% off through Amazon.

The post Dell Offloads Laptops at 70% Off, But Only Quietly Through Amazon to Protect Its Brand appeared first on Kotaku.


Kotaku Saturday, October 18, 2025 8:07 AM
    

Millenium Falcon Set Lego

LEGO's Star Wars sets rarely go on sale.

The post Millennium Falcon Set Is Going for Peanuts, Amazon Crushes LEGO Star Wars Stock Prices appeared first on Kotaku.


PCGamesN Saturday, October 18, 2025 11:50 AM
    

Battlestate Games head Nikita Buyanov says there are four endings in Escape From Tarkov 1.0, but getting there is "a lifetime achievement."


PCGamesN Saturday, October 18, 2025 10:41 AM
    

Amid legal action, the creators of Turtle WoW call on Blizzard to consider embracing official support for fan-run World of Warcraft servers.


PCGamesN Saturday, October 18, 2025 8:02 AM
    

Treyarch reveals the conditions to unlock Cursed mode in Black Ops 7 Zombies, but suggests we won't have a super easter egg at launch.


PCGamesN Saturday, October 18, 2025 6:18 AM
    

Final Fantasy 7 Rebirth director Naoki Hamaguchi doesn't agree that the JRPG was too bloated, but says Remake part 3 will be "more concise."


PCGamesN Saturday, October 18, 2025 5:00 AM
    

Frame rate issues and glitches make Vampire The Masquerade Bloodlines 2 a pain to play on PC, even with the best graphics settings.


Siliconera Saturday, October 18, 2025 9:00 AM
    

Preview: Starsand Island Feels Like More of a Life Sim Than Farming Game

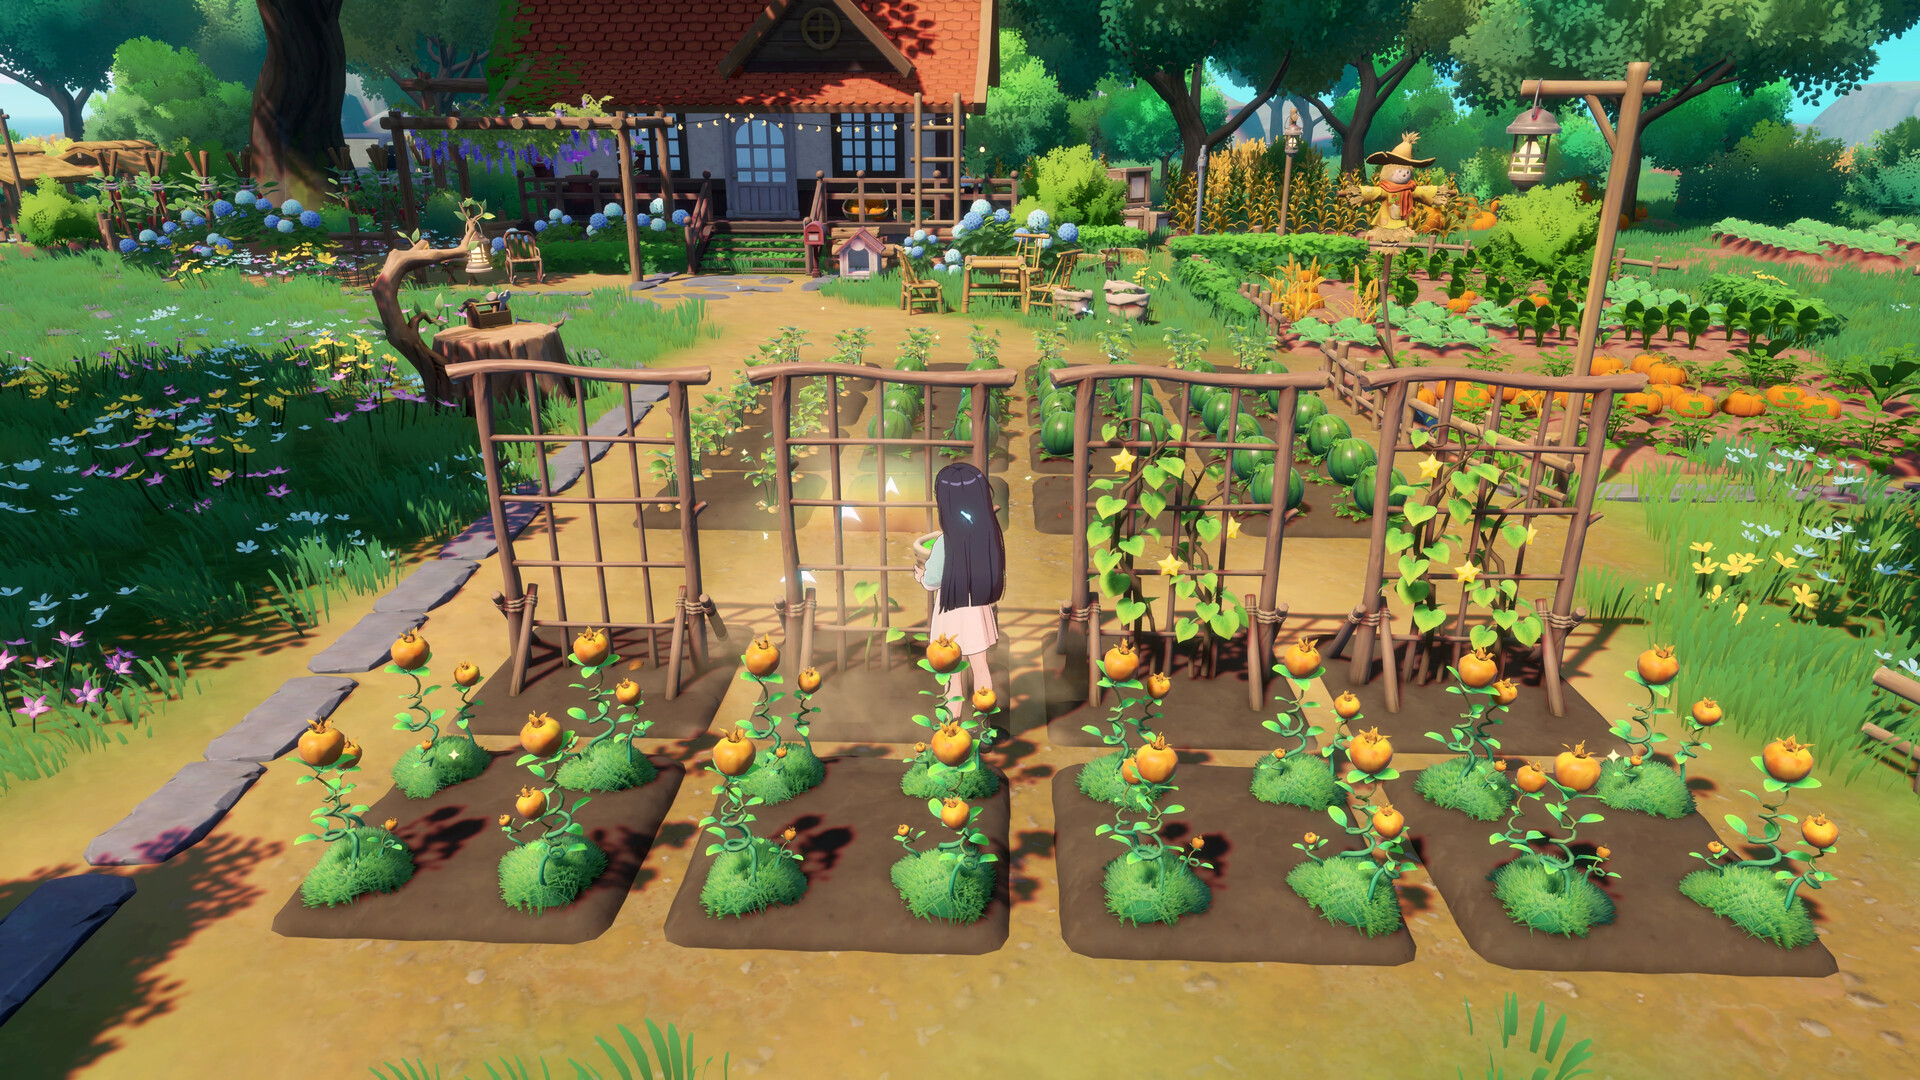
Starsand Island is one of the latest life sim and farming games in development, and ahead of launch Seed Lab continually mentioned the goal of offering an experience that makes connecting with characters feel more realistic. There are so many references to the NPC Affection System and ways in which we can interact with people. (It comes up so many times on the Steam page!) While this does seem valid and accurate, I noticed another thing when playing an early build for this preview. It's also a game that feels more like it is designed to simulate daily life in a small town on an island, rather than just focus on farming.

Like many farming games and life sim titles, Starsand Island begins with a prodigal son sort of approach. You're familiar with the place! A lot of your time as a child was spent there at your grandfather's cabin. He's gone, sadly, but that home is your inheritance. Upon customizing your character, your childhood friend Solara takes you through the now overgrown space. After clearing up some of the rocks and branches, the nearby workbench can be repaired. Instead of getting tools from other people, you build them up yourself. After making the tools needed clear the shrubbery blocking the front door, there's a brief introduction to crafting things like a bed, armoire, and storage box. 

https://www.youtube.com/watch?v=khWDTOPMvW8

From there, instead of forcing you into a life of a farming and animal husbandry, Solara opens up the world to you in Starsand Island and gives you a chance to just… live your life in the game. The initial part of the tutorial in this build ended with her basically asking me what I wanted to do. There are different careers here, each with a different NPC mentor tied to them. It isn't quite like Fantasy Life i: The Girl Who Steals Time, but it feels like an effort to acknowledge things that other farming and life sim games sometimes bundle in as an extra, not as well fleshed out feature or bonus mechanic. I could head off to become an angler, crafter, explorer, farmer, or rancher. You're never locked out of one path if you choose to prioritize another first, just like in Fantasy Life games. However, going through the initial introductions to each basically acts as a tutorial for those types of mechanics and helps you get situated.

Since this was an early build, I didn't want to get too invested in a long-term type of role with a lot of gathering tied to it, like a crafter or a rancher. But I did dabble in some farming, fishing, and crafting. In the case of farming, it is typical fare. You till the soil, plant crops, and water them. It does feel a bit more focused on ensuring you pay attention to crops. Like I'm used to ensuring everything is watered every day, but there was an instance when I got caught up exploring the world and found the first three plants already dried out by the time I got home. (Fishing and exploring aren't nearly as sensitive occupations.) However, I did appreciate that when I'd over over a planted crop, I could see its exact water levels and % in the growing cycle, as well as a reminder of what it was in case it hadn't grown enough to be immediately recognizable. 

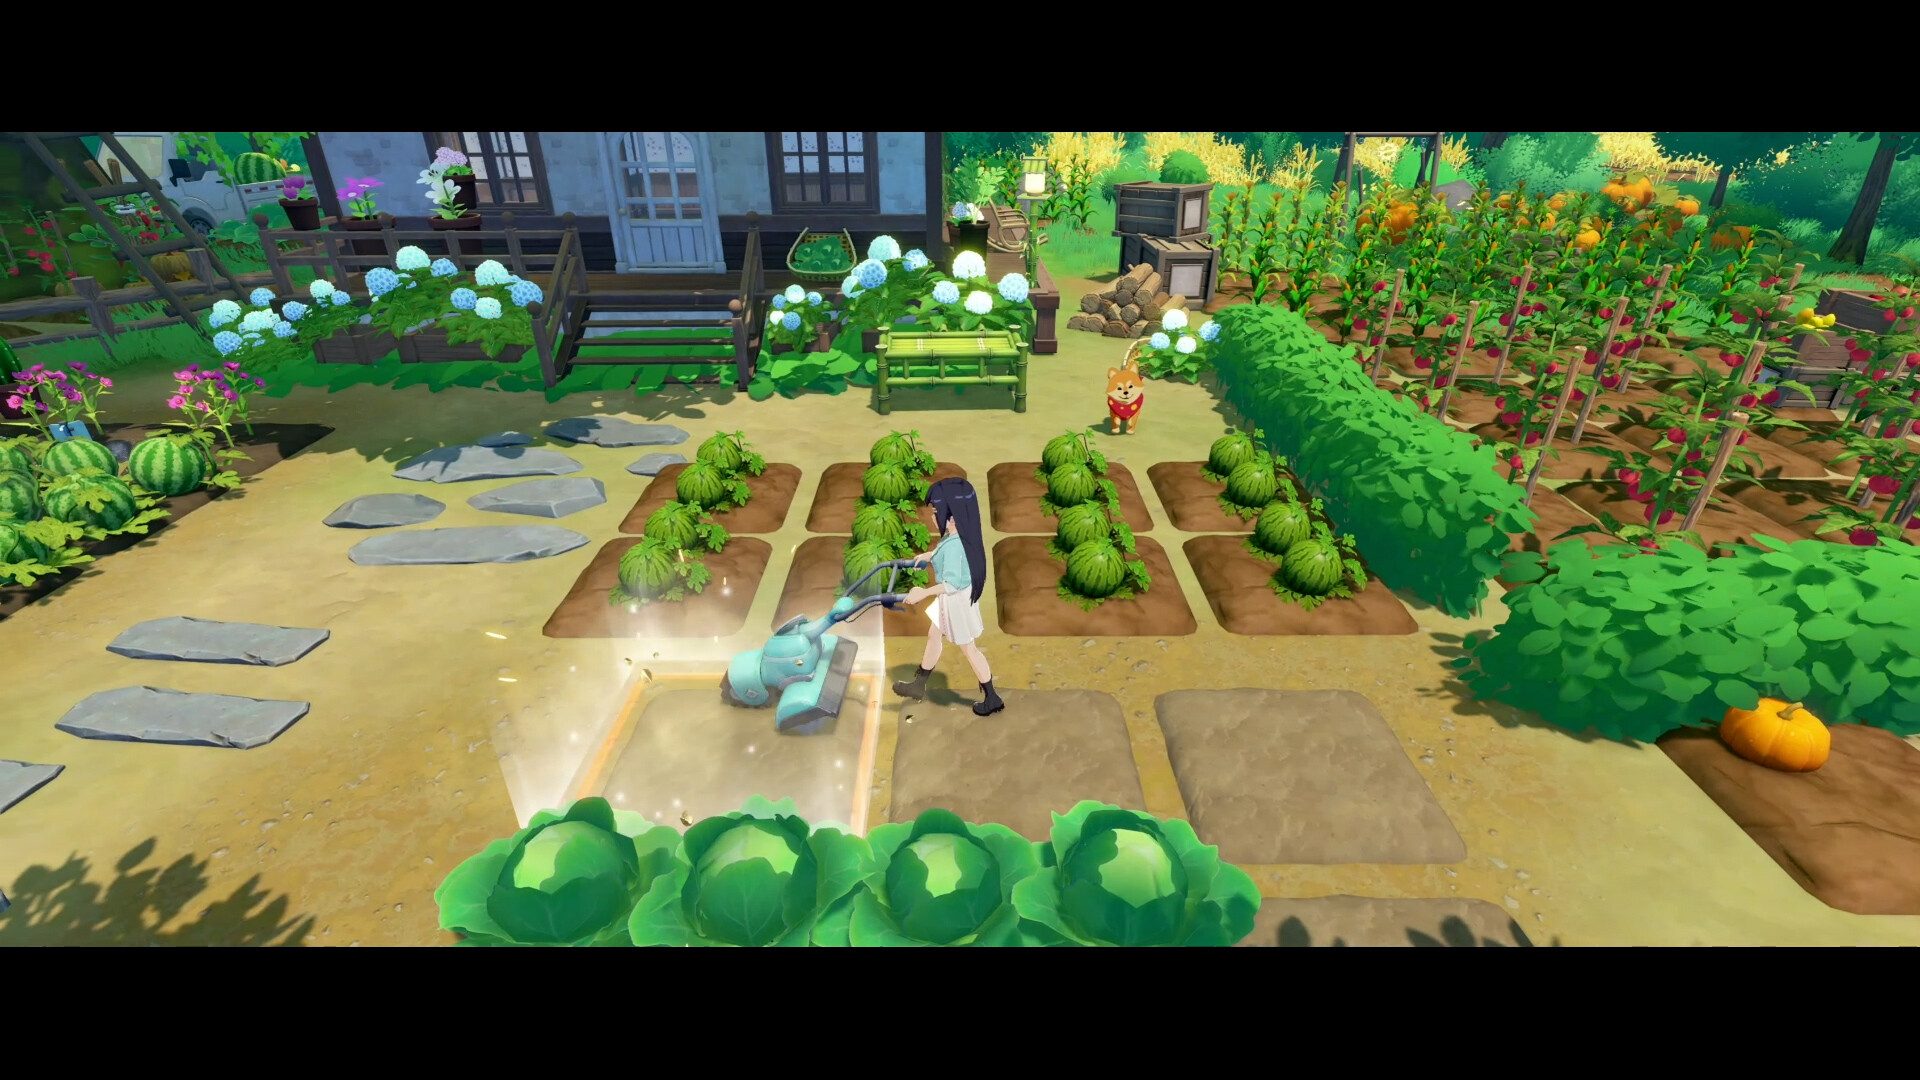
As for the other two tasks I experimented with, I appreciated how I saw them affect my life in the community in different ways. Like games such as Animal Crossing and Fields of Mistria, fishing isn't just about getting items to sell or ingredients for cooking. It is also about supporting the local aquarium. Also, I noticed right away that the island is huge, and event getting from one area to the other can eat up valuable time that could put my farm in jeopardy. But because I also introduced myself to the crafting mentor ASAP, I learned how to make a skateboard. Now, it wasn't as fast as say a Story of Seasons horse, but it made a substantial difference. 

All of this makes me excited for what could be next for Starsand Island, as it feels like it is doing more to make sure we are living a virtual life instead of just going through social routines and filling time with other activities in a dedicated farming game. There's a lot to do here. The "career" paths I experimented with felt like they each offered a lot and could stand on their own. It also felt like, in ways, they could also work together in providing extra resources and income. I'm hoping things stay this promising!

Starsand Island is in development and will launch in 2026.

The post Preview: Starsand Island Feels Like More of a Life Sim Than Farming Game appeared first on Siliconera.


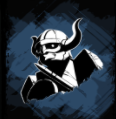
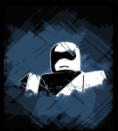
Destructoid Saturday, October 18, 2025 10:10 AM
    

absolvement race tier list and guide

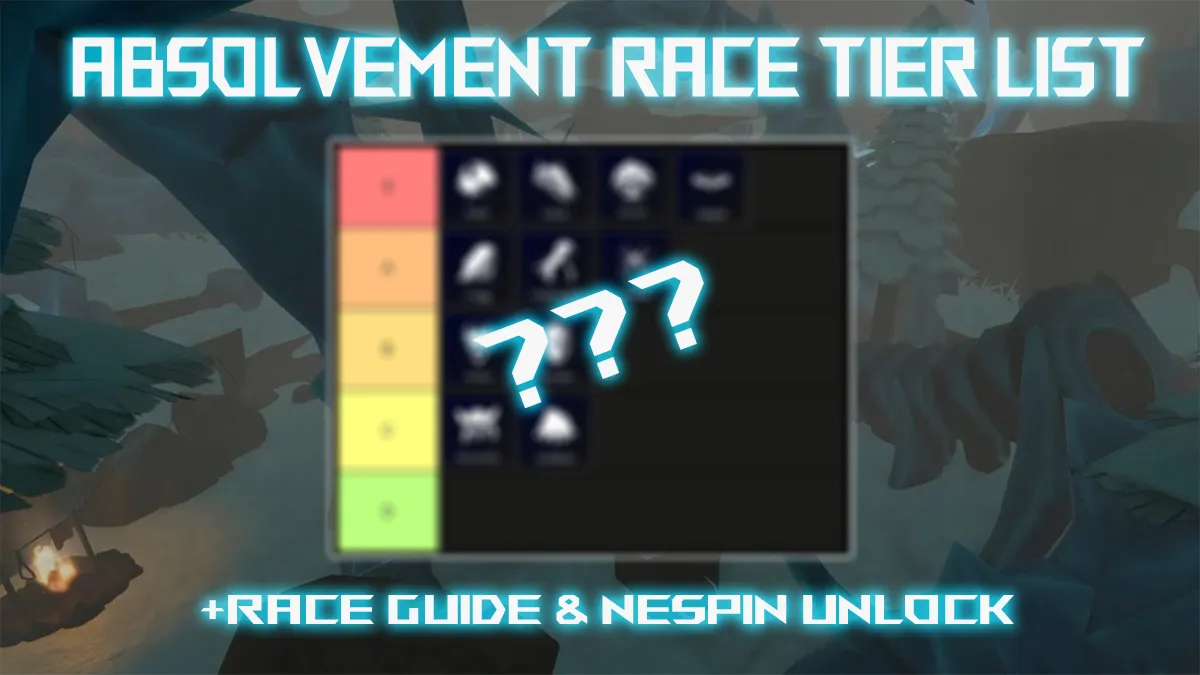
Roblox Absolvement races are relatively balanced against each other and all of them can be good. However, there are still more flexible race options for a wider variety of builds and some just offer better buffs or more forgiving debuffs. Here's my Absolvement race tier list and guide and how to unlock Nespin.

Updated on October 18, 2025: Fully reworked the tier list and updated all races for the massive October Absolvement update. Also added the new race Nespin and how to unlock it.

All Absolvement Races Ranked

absolvement race tier list
Image by Destructoid

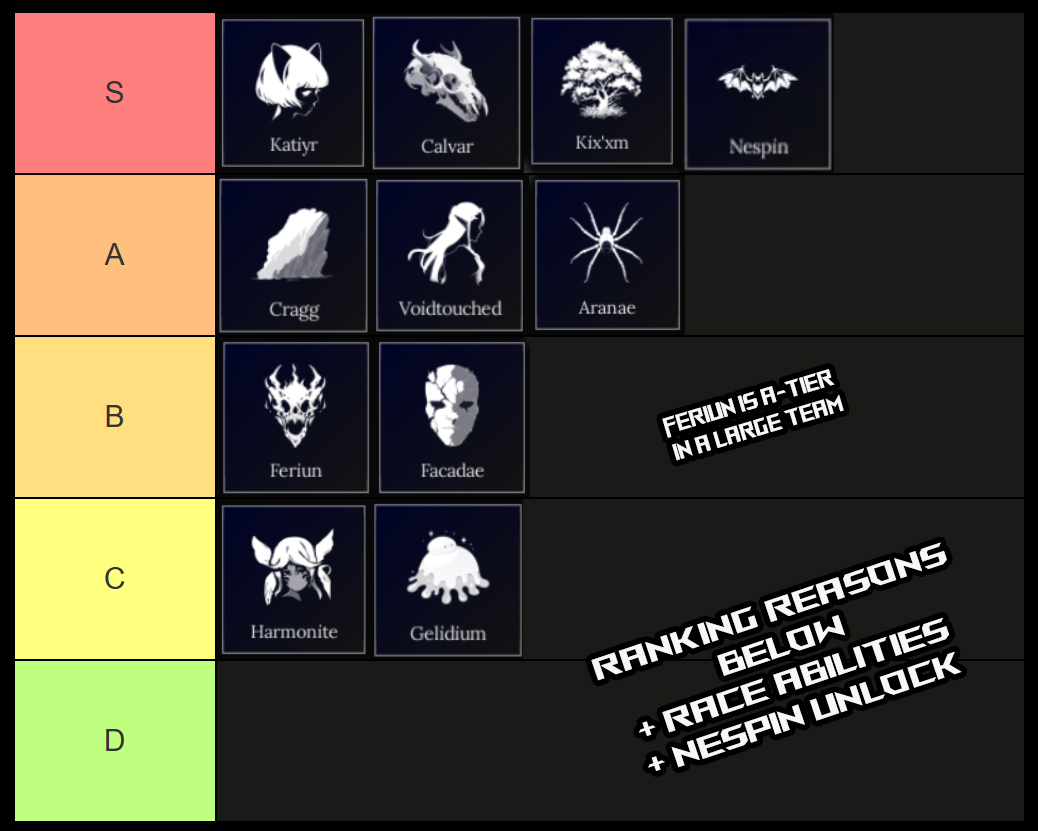
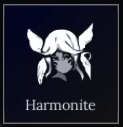
The best race in Absolvement is the one whose buffs apply to the widest variety of situations (least situational). Each race can shine but the higher tiers like A and S shine more often. It's also about how forgiving or negligible their debuffs are. They are mostly balanced out on paper, but in reality some are just better for a wider variety of builds. I'll also talk about the new changes to Harmonite and the new Nespin race. Let's dive into ranking explanations and mini-guides for each race.

S-Tier Absolvement Races

Race Ranking Explanation Race Stats

Katiyr
• One of the best defensive races in the game and the top 2 most mobile along with Nespin
• The auto-dodge combined with a chunky 20% cooldown reduction on dodges means you'll be getting hit the least even if you're bad at dodging
• Dodging even boosts your crit chance by up to 6% which can constantly reset between your skill and successful dodges
• This means you're avoiding damage and dealing a good amount back
• You just have to try and fight 1 enemy at a time or take good care not to get hit if you're fighting 2 or against Water and Disease
• Overall, huge boosts for negligible consequences, one of the best races in the game
Skill
• Auto-dodge the next attack that would hit you and gain all 3 stacks of your dodge passive.

Passives
• Successful dodges give you +2% crit chance for 6 seconds stacking up to 3 times.
• +15% Walkspeed
• Roll cooldown decreased by 20%

Debuffs
• Take +10% damage from all sources when near 2 or more enemies
• Take +10% damage from all sources of Water and Disease


Calvar
• Calvar like Kix'xm has seen some drastic buffs although the playstyle modifications are severe
• Mainly, you get the biggest health boost in the game and you now heal from enemy kills which is really powerful sustain before bosses
• In return you cannot passively regen which isn't a big deal since it was slow anyway but other healing sources are massively decreased
• The S-Ranking here is with a huge caveat of learning how to dodge and parry well and you can out-sustain any dungeon
• Killing 3 to 4 enemies heals you for a quarter of your health which is quite strong as long as you don't take many hits
• The active is free damage but I wouldn't spam it if you're already low and there aren't many enemies before the boss
• Overall, a top 5 race in the game and gets better the better you get at dodging and parrying
Skill
• Self-destruct dealing 15 damage to all nearby enemies at the cost of 10% of your maximum health.

Passives
• Cannot die from environmental effects but you can still take damage from them
• Heal 7.5% of your max health when killing enemies
• Hitstun applied to you is 10% shorter
• Start with 33% more health and increase your maximum health by 15%

Debuffs
• All forms of healing are 75% less effective on you
• You cannot passively regen HP


Kix'xm
• Kix'xm has become busted in the new update granting massive mana and HP regen
• This is one of the most durable races for casting builds
• All you have to do is play Nature, Wind, Water or Earth builds and you get massive mana regen boosts from skill and passive
• Then you get heals from your skills
• There's so much damage and sustain here plus your team can benefit from your racial skill
Skill
• Summon a mana rose granting an additional 15% mana regen to yourself and nearby allies for 8 seconds.

Passives
• You are immune to ragdolls and knockback as long as you stand still
• You get health from any Nature, Wind, Water and Earth element skills based on the casting cost (Only on successful casts)
• +15% Mana regeneration

Debuffs
• -10% passive HP regeneration
• Debuffs applied to you last 25% longer and deal 10% more damage


Nespin
(Obtainable)
Our Nespin Unlock guide will show you how to get this new obtainable race

• Nespin are the most mobile race in the game and they are so powerful because you have so many movement options
• You can avoid certain AOE attacks with double jumps and reposition as well
• Plus, you can cancel spell animations and light attacks if you need to mid-cast or mid-swing which is incredibly powerful defense against bosses
• Their skill is okay utility for clearing rooms but you want them for the passives
• You cannot cancel dashes but you won't generally notice this since you're usually using dashes to cancel your spells and swings anyway to dodge boss attacks

Skill
• Emit a supersonic screech highlighting enemies within 25 studs for 10 seconds and dealing 1.5 Physical Damage.

Passives
• You can double jump every 2 seconds out of combat and every 5 seconds in combat.
• You get an improved Q/Dash that allows you to evade even while casting spells or using light attacks.

Debuffs
• iFrames from dashing are 15% shorter
• Dash cooldown is 15% longer
• Unable to cancel dashes

A-Tier Absolvement Races

Race Ranking Explanation Race Stats

Voidtouched
• Voidtouched are no longer based around Shadow builds and are now focused on gaining a bunch of mana in combat and disabling enemy spells
• The active is really good later on where there are some powerful spellcasting enemies
• The mana steal will keep you topped off as you cast as long as you use lighter weapons for faster consecutive attacks or multi-hit skills
• The mana debuffs are severe but you won't notice them with an aggressive multi-attack build
• Overall a really strong race if you master an aggressive playstyle
Skill
• Create a nullification field around you preventing enemies from casting spells for 11 seconds

Passives
• All your successful attacks and parries steal 1 mana
• Deal 20% more damage when critically striking an enemy

Debuffs
• -15% max HP
• -25 max mana
• Regen mana 30% slower


Cragg
• Cragg isn't as OP as it used to be with the damage reduction but it's still pretty good
• The increased HP is nice and the debuffs aren't too bad
• The active skill and the debuff cleanse are the main strengths here
• The active is great for clearing rooms and the debuff cleanse is really strong since it gives you decent damage, a cleanse and removes your movespeed debuff
Skill
• Charge forward with hyper-armor until you hit an enemy or wall. If you hit an enemy deal 15 damage and knock them back and if you hit a wall you knock yourself down.

Passives
• Being stunned twice within a 10-second period triggers enrage, removing all temporary debuffs, your movespeed debuff and grating you +10% overall damage for 10 seconds.
• 5% of all damage you deal will bypass enemy shields.
• +12.5% max HP

Debuffs
• -15 max mana
• -15% walkspeed


Aranae
• The active is really good for melee enemies which you want to ignore for a while as you focus down other targets
• The passives are all great for high DPS on a Poison, Plague and Bleed build
• I would just try to play more from range since you do take more damage
• Overall quite a good DPS class with some utility options
Skill
• Spit out a web rooting an enemy for 5 seconds and dealing 3.5 damage

Passives
• +10% attack speed
• +2.5% crit chance
• Poison, Plague and Bleed effects deal 10% more damage to enemies
• Backstabs deal 5% more damage

Debuffs
• Stuns last 20% longer on you
• Take 7.5% more damage from all sources

B-Tier Absolvement Races

Race Ranking Explanation Race Stats

Feriun
• This can be quite a powerful race if you manage to get healing skills or are in a large team to tank for you while you're dealing massive damage on low HP
• Otherwise it can be quite awkward to try and be stuck at low HP to gain benefits of the spellcasting buffs
• You are locked into spellcasting by your debuff
• This creates pressure to both get good DPS spells, stay at low HP for buffs and get a healing spell to sustain when you're low HP
• Overall I think this class requires a team to tank for it to truly shine so for solo or duo I give it B-Tier and for larger groups with a healing skill I give it at least A-Tier
Skill
• Rip off a horn, sacrificing a third of your current HP and increasing your total damage dealt by 18% for 15 seconds

Passives
• Cast spells faster at low HP
• All spells cost 9% less, cast 9% faster and deal 9% more damage

Debuffs
• Debuffs applied to enemies are 15% shorter
• All non-spell damage reduced by 25%


Facade
• Facade's playstyle of tanking a single elemental damage type is hit or miss in most cases, especially now with a max health reduction
• You usually don't want to get hit in this game on later stages since regen can be scarce
• The passive is just so slow, requiring several hits, to start being powerful and by then you've already suffered more damage
• I feel like you're just better off dodging and parrying
• Still, it can be powerful if you have good healing skills and heals are better on you
• As for the racial skill it's very unreliable and you'll usually get a negligible boost since you can't get the core passives
Skill
• Get a random passive race buff from a random ally. Only works on numerical race buffs, not the main passive. If no ally is present, the buff is randomized from all races.

Passives
• Taking consecutive hits of the same element will give you resistance up to 50%. When taking damage from a new element, lose resistance and take 20% more damage.
• All buff duration from support skills is increased by 15%
• Enemies are less likely to spot you
• +10 max mana
• +5% healing from all sources

Debuffs
• -10% max health
• Cooldowns are 10% longer

C-Tier Absolvement Races

Race Ranking Explanation Race Stats

Gelidium
• Gelidium is very underpowered compared to the other races
• The active disarm works only on melee attacks and not on ranged attacks nor spell plus it doesn't last long
• The slow requires enemies to hit you which is generally bad in this game and the walkspeed slow doesn't do much
• The other passives are whatever but the biggest drawback is that you deal less damage overall thanks to your debuff
• Overall, a mid race option compared to the others but it isn't unplayable
Skill
• When your slime is active, all enemies that melee attack you will be temporarily disarmed

Passives
• Enemies lose 30% walkspeed for 5 seconds when they hit you
• Stuns applied to you are 25% shorter
• All forms of DoT damage are reduced by 10% on you
• Potions and consumables last 20% longer

Debuffs
• Deal 7.5% less damage
• Take 10% more damage from Fire and Frost


Harmonite
• Harmonite is actually quite flexible now because each race is stuck with its own racial ability whereas Harmonite can fill that slot with whatever they want during runs
• You also get more choices on Potential rolls and more gold and experience from all sources which adds up
• Overall it's an interesting playstyle that's much more flexible but it also means you cannot build anything powerful that's race-specific
• In my opinion from dozens of hours in Absolvement, while some actives aren't the best, the passives can get quite poweful so lacking those really hinders Harmonite
• I don't feel like the passives here really make up for losing a potentially powerful passive
Skill
• No skill (Allows you to fill this slot with whatever skill you find)

Passives
• Potential rolls have an additional choice
• Gain 15% more gold and EXP

Debuffs
• No debuffs

How to Change Race in Absolvement

Unfortunately, you cannot change your race in Absolvement after character creation. Once you lock in your choice when making your character for each slot, you cannot change it in-game. That's why I would consider the tier list above and all the race options depending on what you want to build. Once you unlock Nespin, you have to make another slot to choose it as it doesn't replace your race on the slot you unlocked it on.

That's it for our Absolvement Race tier list and guide. Stay tuned to our Absolvement Codes for potential codes. Don't forget to also check out our very own Absolvement Wiki.

The post Absolvement Race Tier List and Guide [Nespin UPD] appeared first on Destructoid.


Destructoid Saturday, October 18, 2025 10:07 AM
    

Absol on the promo image of Legends ZA

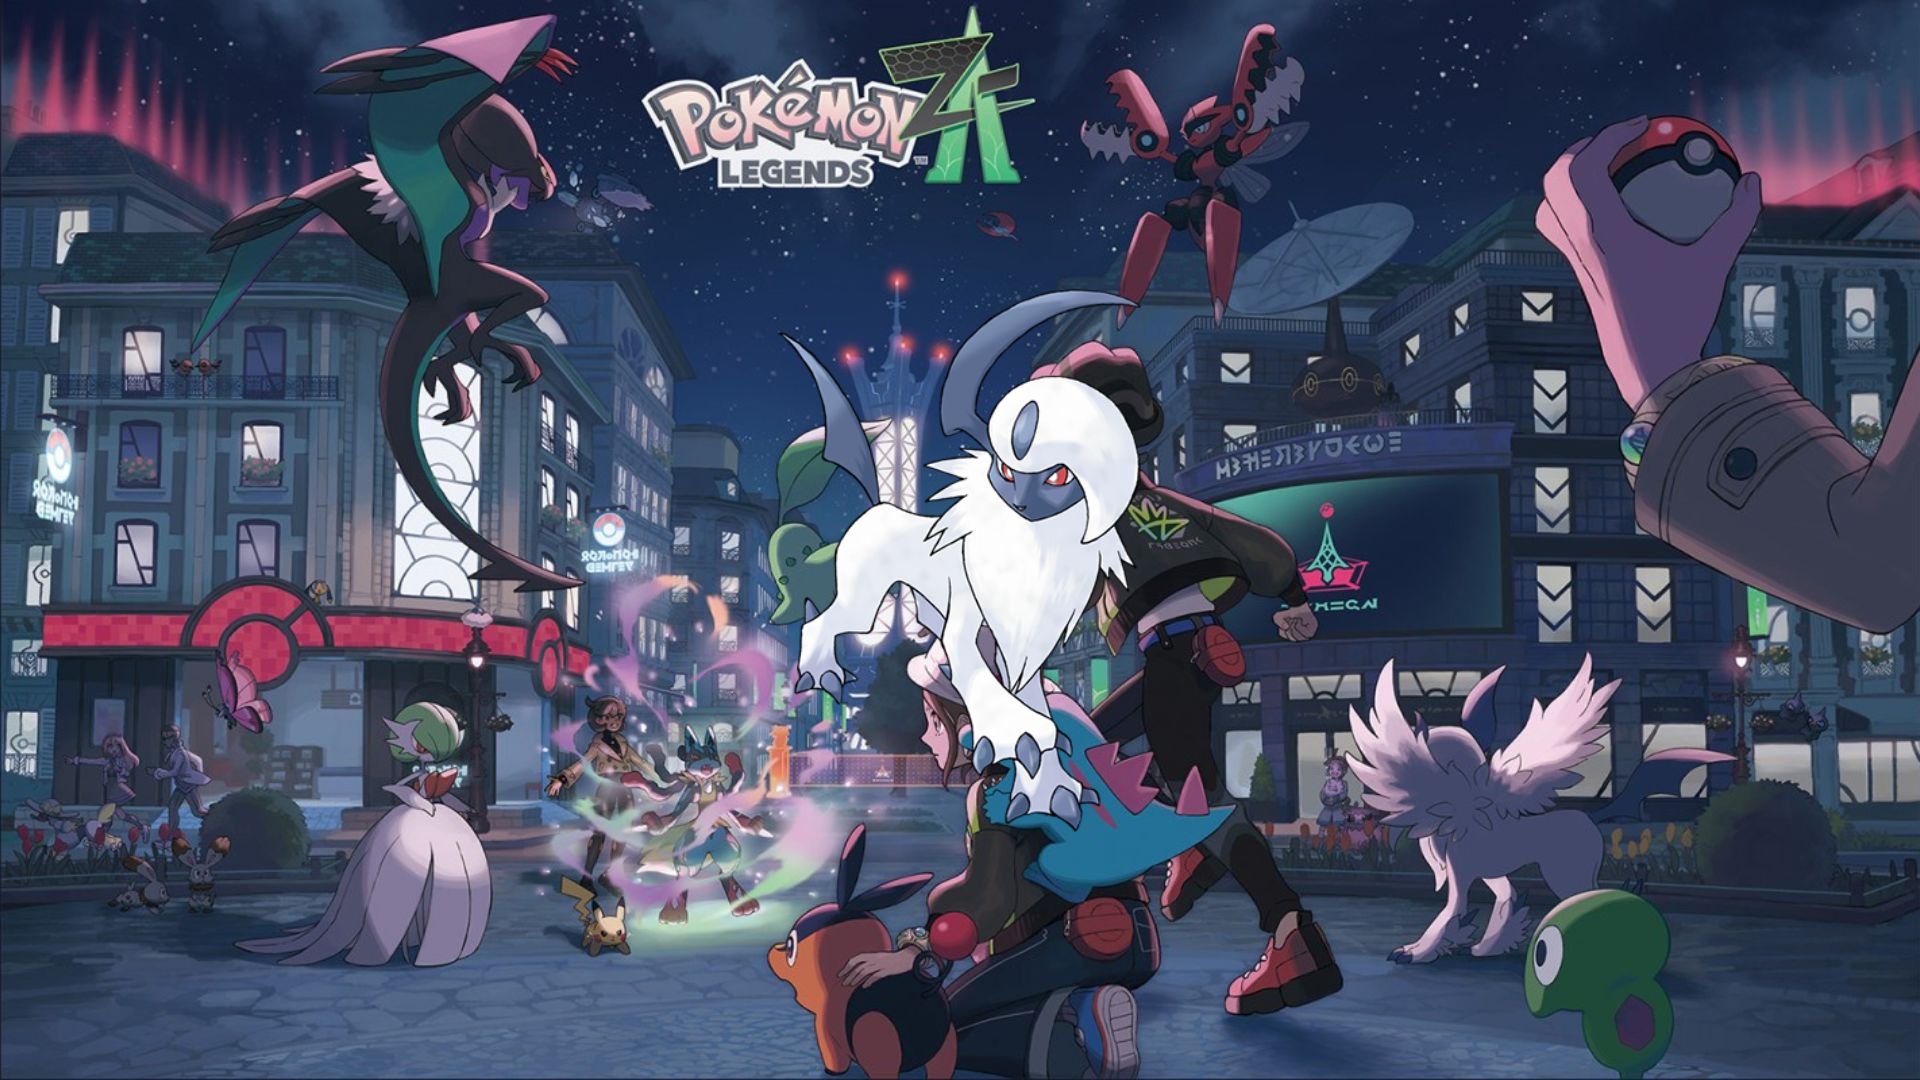
Pokémon Legends Z-A has its fair share of Gift Pokémon that you can obtain by completing different quests.

These Pokémon are different from the standard ones that you can catch from Wild Zones. Infact, you don't have to capture them at all, and they can be obtained by completing various tasks. This guide will provide you with all the Pokémon you can receive as gifts in Legends ZA.

Complete list of Gift Pokémon in Pokémon Legends Z-A

The table below has all the information about every Gift Pokémon and how to obtain them.

Name Type Level Location How to Obtain
Chikorita Grass 5 Lumiose City One of the three starters that you can obtain after defeating Pancham.
Tepig Fire 5 Lumiose City One of the three starters that can be obtained once you defeat Pancham.
Totodile Water 5 Lumiose City One of the three starters on offer you unlock after the introductory battle against Pancham.
Chespin Grass 14 Academie Etoile Part of the Side Mission 7. Defeat the Chespin three times to add it to your party.
Fennekin Fire 14 Magenta Sector 2 During the Get Well, Fennekin quest, you'll encounter a Fennekin who is sick. Find a Revitalizing Twig and restore its health to add Fennekin to your party.
Froakie Water 14 Jaune Sector 8 Part of the Side Mission 8. You'll meet a construction worker who will tell you about Froakie's ability to climb heights. Your objective will be to beat three time challenges in 30, 40, and 50 seconds.
Spewpa Bug 9 Lumiose Mueseum You'll be given a task to find 12 Spewpa located in the museum during Side Quest 21. Once you collect all 12, a 13th will appear, and the staff will then offer it to you.
Bulbasaur Grass 5 Pokémon Research Lab You'll be able to select Bulbasaur as part of Side Mission 22.
Charmander Fire 5 Pokémon Research Lab You'll be able to select Charmander as part of Side Mission 22.
Squirtle Water 5 Pokémon Research Lab You'll be able to select Squirtle as part of Side Mission 22.
Aerodactyl Rock/Flying 20 Pokémon Research Lab Restored from Old Amber stone at the Pokémon Research Lab.
Amaura Rock/Ice 20 Pokémon Research Lab Restored from the Sail Fossil as part of Side Mission 27.
Tyrunt Rock/Dragon 20 Pokémon Research Lab Restored from the Tyrunt Fossil as part of Side Mission 27.
Absol Dark 30 Lumiose City Defeat Rogue Mega Absol.
Galarian Stunfisk Ground/Steel 38 Wild Zone 11 Side Mission 72 requires you to search for a Galarian Stunfisk that's hiding as a Poké Ball. You can find it in the southern part of the zone.
Lucario Fighting 50 Hotel Z Return to the table after completing the story, and you'll find Lucario on your table.
Floette Fairy 72 Quasartico Obtainable after ending the story and completing at least 15 Infinite Royale matches.


Like our content? Set Destructoid as a Preferred Source on Google in just one step to ensure you see us more frequently in your Google searches!

The post All Gift Pokémon and how to get them in Pokémon Legends Z-A appeared first on Destructoid.


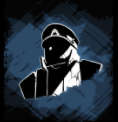
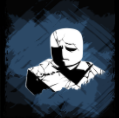
Destructoid Saturday, October 18, 2025 6:29 AM
    

alter ego killer and survivor tier list and guide

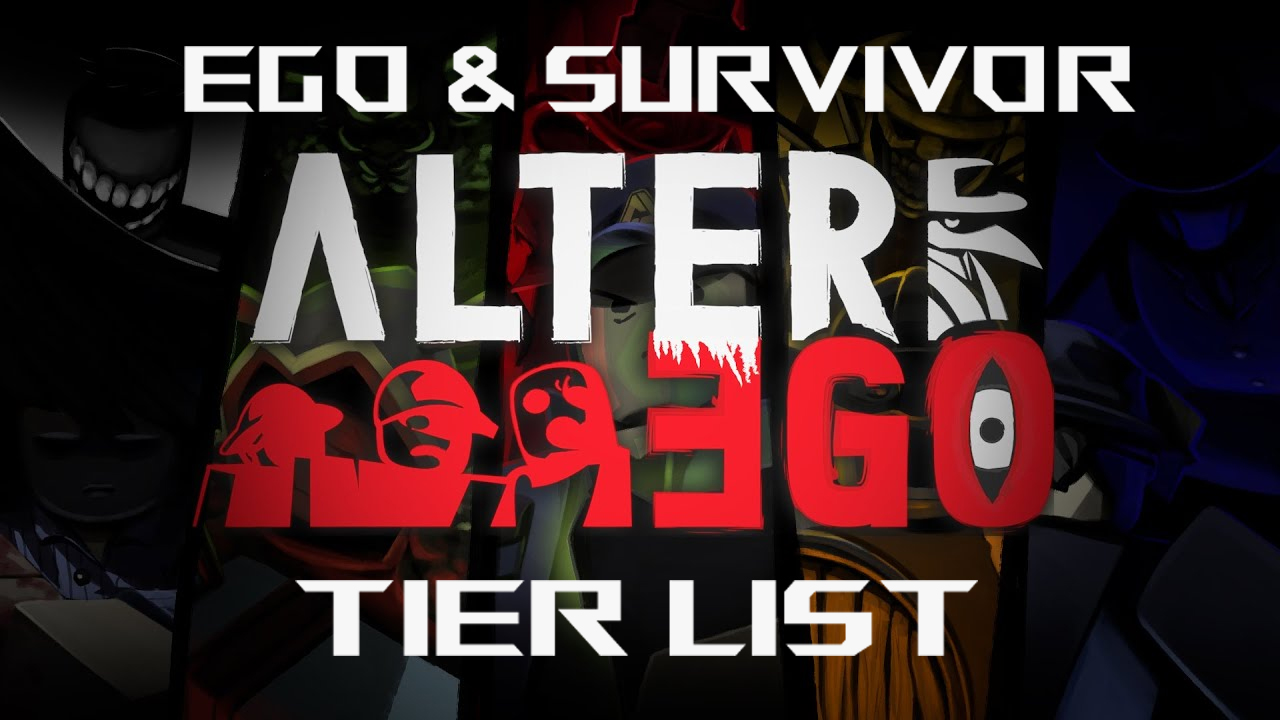
The best Survivor and Ego/Killer in Alter Ego depend on factors such as team-play versus solo/carrying for survivors and mobility versus damage for Egos. I'll be taking both factors into account for two-tier lists with ranking explanations as you'll see below. Here's my Alter Ego Tier List and guide for each Killer and Survivor.

Alter Ego Killer And Survivor Tier List

alter ego killer and survivor tier list
Image by Destructoid

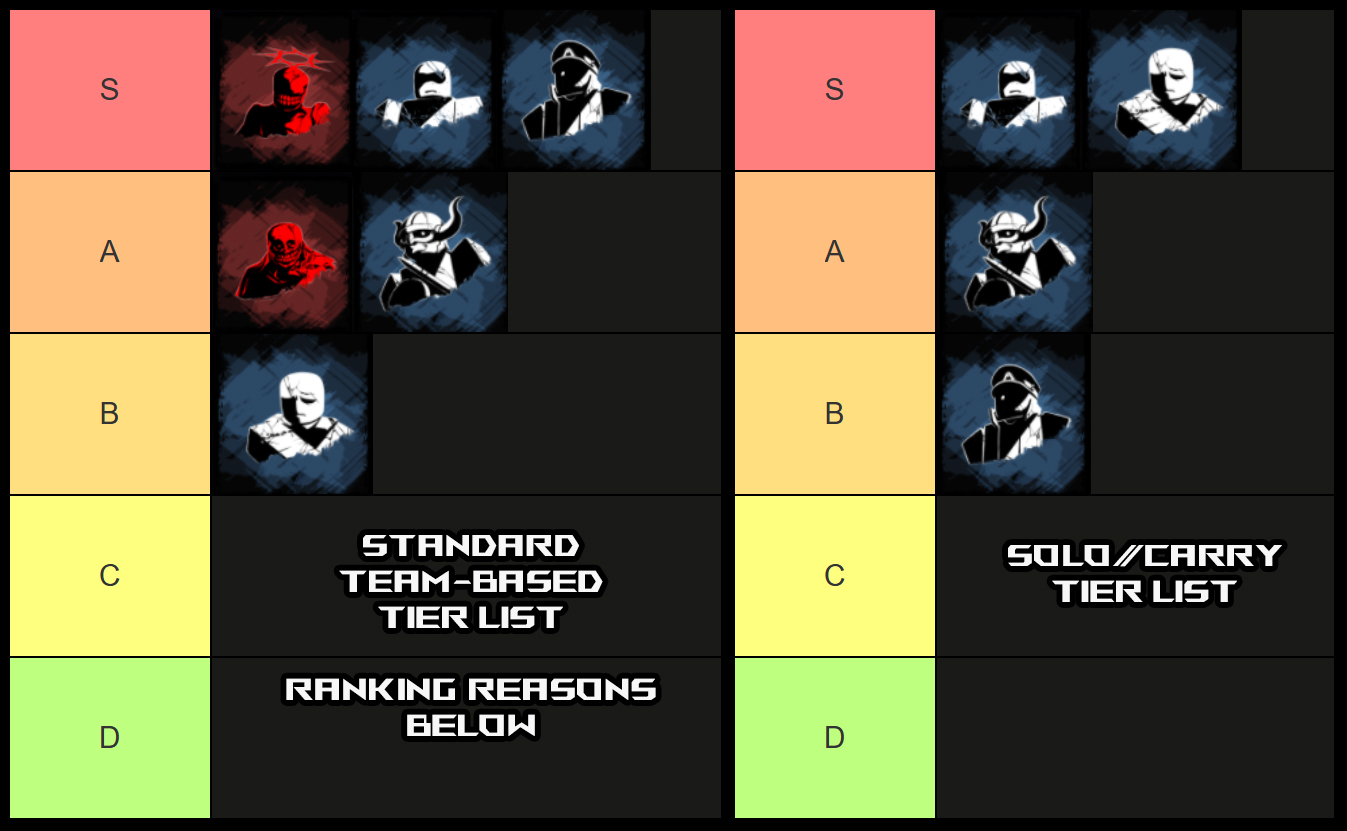
I'll be ranking the best Survivors in Alter Ego according to both team play and solo carry potential (discussed below). As for Egos, I'll be directly comparing them to each other for each ability. Note that Stun-stacking is currently a thing so Fjord and Noob are a bit stronger than the rest until they patch it. Let's take a look at all Survivors and Egos individually.

S-Tier Egos & Survivors

S-Tier Ego/Survivor Why S-Tier + Guide

Caducus
Ego
• Overall Caducus has been more reliable than Husk for the following reasons
• Swipe is far superior to the Slam because you get more mobility forward and it's a wider swing able to hit multiple Survivors
• Caducus' movement Spectral Dash doesn't deal damage but is much faster and less awkward to use and gives you stealth so you can have an unpredictable approach
• Foul Breath is so much utility because it's a ranged projectile to snipe low health enemies or open on a generator to slow them while they're doing puzzles
• Dark Descent has massive range, you get tons of map visibility, you cannot get hit/stunned during it like with Husk ult due to flight and it can even down multiple Survivors on the way down

Commander
Survivor
• Overall in a high-skilled team-based setting Commander is arguably the best Survivor
• This is because you can reliably locate generators for your team with Survey and then speed them up with Strength in Numbers to escape when the killer shows up
• Strength in Numbers is the best skill in the game for when you finish generators and you have to get to the escape doors
• Your Leadership passive allows you to locate teammates near a killer and then go to them to speed them up
• Also, Survey allows you and your team to spot the killer before they arrive to the generation your team is doing
• Overall there's so much team utility here but you don't have solo power so keep that in mind when playing in a bad team

Noob
Survivor
• Noob is a great mix of team utility and solo power
• Your Stun Slingshot can hit from ranged allowing you to both save yourself and an ally from ranged
(Plus it's harder for killers to dodge than Fjord's Slash if you aim it well)
• Bloxy Cola allows you to reposition if you get spotted on a generator or regen Stamina if you're getting chased or trying to reach/save a teammate
• The passive isn't that strong but the base kit is really good for both team-play and carrying solo

A-Tier Egos & Survivors

A-Tier Ego/Survivor Why A-Tier + Guide

Fjord
Survivor
• Fjord is built as a team support and he can be really strong when he works right but there are some issues which is why he's in A-Tier
• Slash's 5-second stun is extremely powerful, especially when you stack it with other stuns but it's hard to hit since it can be easily dodged by the killer due to the slow telegraph
(Make sure to bait killers into corners and start the animation around the corner so that the killer doesn't see it and you get a surprise hit)
• Warrior's Call reduces damage on allies but slows you which works like a taunt making the killer focus you
(Combine with Commander's Strength in Numbers to help your team escape)
• That said Warrior's Call can make you an easy target and when the killer is done with you your team buff will expire as it focuses on your allies
• Your best bet is to save teammates with Warrior's Call then when the killer charges you try to hit a Slash and then retreat

Husk
Ego
• Husk's moves are a bit more awkward and slow to land which is why I put him lower than Caducus but if you get used to their timing Husk actually deals more damage
• Forward Leap is excellent to do on a crowd doing generators for a nice AOE damage opener
(Note that there's a slow up-start so plan your trajectory a bit and don't spam it)
• Ancient Punishment gives you a bit of mobility and deals more damage than Caducus' damage skill while stunning but it can be tricky to land
(Luckily it has a wide hitbox currently in Alpha)
• Your Ultimate Crushing Slam is weaker than Caducus' flight however it does still execute and you get some mobility while automatically winning against Fjords who try to Slash you
(The main problems are that you can get stunned more easily than Caducus and you don't bypass terrain so Survivors can vault to defend)

B-Tier Egos & Survivors

B-Tier Ego/Survivor Why B-Tier + Guide

Patient Zero
Survivor
• The long story short here is that you have B-Tier team utility and S-Tier solo/carry potential
• Your abilities are very selfish and strong if the killer is focusing you but if they leave you alone and kill your team you'll have a bad time since you have no support
• Vital-Mins mean you'll have more overall health than others despite a lower starting HP pool
(I would actually tank hits for your team where you can by baiting the monster and later healing for some improvised team utility)
• Dissociate is your strongest ability allowing you to escape and circle back to generators but it has no actual way to help your team
(That said it's really strong once all generators are done and the escape doors open up)

That's it for my Alter Ego tier list and guide for all Killers and Survivors. If you like Alter Ego then you'll probably enjoy my Violence District tier list for a similar Dead By Daylight-inspired experience.

The post Alter Ego Tier List and Guide – Best Killer & Survivor appeared first on Destructoid.