Shift Up's acclaimed action game is at its lowest price on Fanatical, with both the Standard and Complete editions discounted as the studio works on a sequel.
Rock Paper Shotgun Latest Articles Feed Sunday, February 22, 2026 6:00 AM
Sundays are for finally biting the bullet and spending some of your Christmas money on a boxset of 2000s British Touring Car Championship season reviews. You stick the first DVD in, a three hour trip back through the 2000 season of car touring around the finest tarmac-filled fields Britain has to offer. You think of the American readers, and make a mental note to explain to them that the action you're watching is a bit like NASCAR, except with no oval tracks, smaller engines, and a lot more exchanges between drivers you can accurately describe as 'politely grumpy tantrum throwing'.
Nyooommmm. A Ford Mondeo flies by, Swiss ace Alain Menu at the wheel. Smash. James Thompson and Jason Plato have attempted to meld a Honda Accord and a Vauxhall Vectra together to form the world's first Honhall Veccord. Screech. Another Mondeo slides around a bend. You can't make out the number on the door. Is it Rickard Rydell or Anthony Reid at the controls? Oh smeg. It's neither. Adrian Edmondson somehow flashes a cheeky grin through a full face helmet as he dips the machine down through Paddock Hill bend.
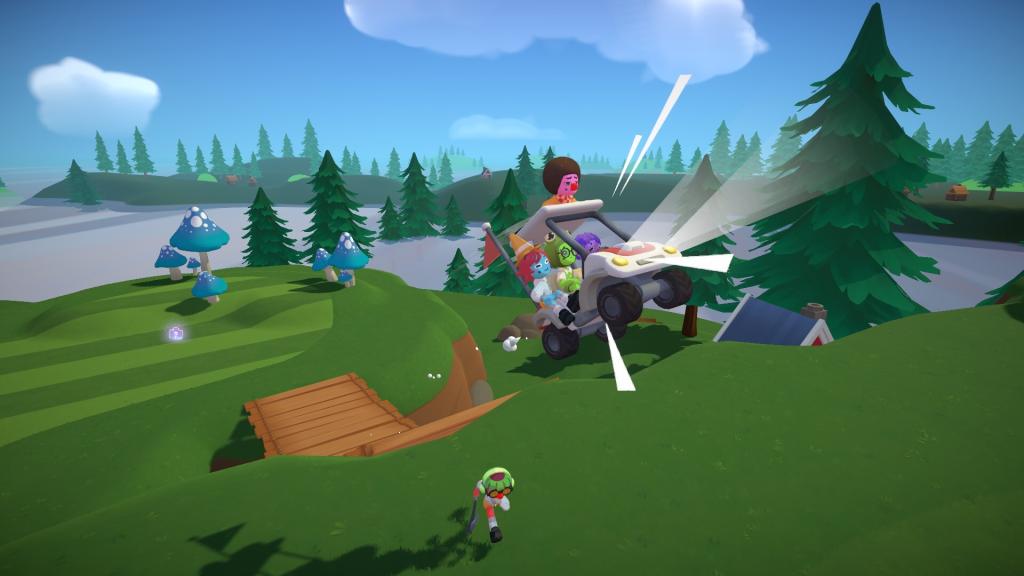
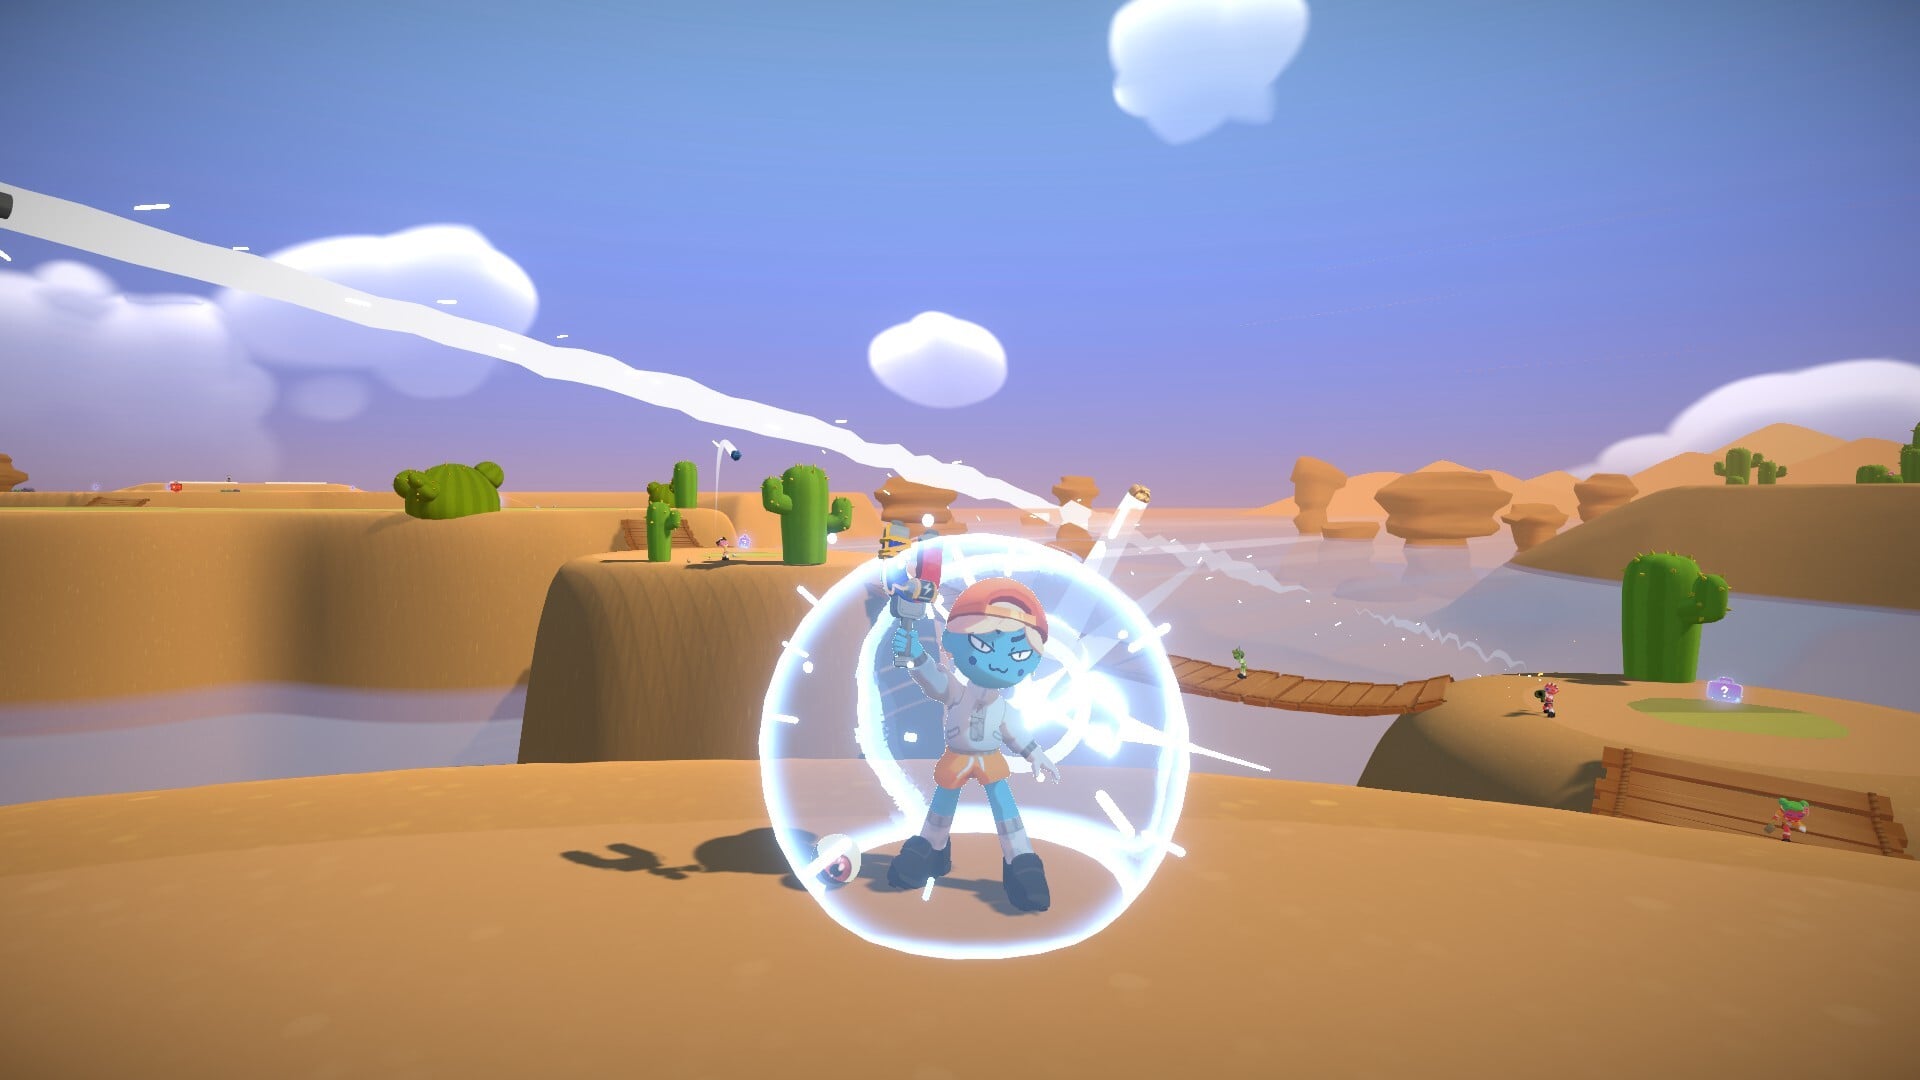
Super Battle Golf isn't your usual calm golfing experience by any stretch of imagination, since the key to victory is often hidden behind taking out others.
While the ultimate aim is to score a hole in as less number of shots as possible, things aren't so simple. Your opponents will try to use different items that can be found inside the game. They will try to disrupt your attempts, and some items are simply more effective.
First, it's important to understand that every item in Super Battle Golf has a perfect use-case scenario. A lower-tier item might do a better job if you're correctly timing its use in a round. That said, some items are just better at either how they work or how often you can use them. I have also considered how easy or difficult it is to use a specific item.
To separate the items, I have used three tiers.
S-tier items are overpowered choices in the current build version.
A-tier items are pretty strong, but they're slightly weaker compared to the S-tier choices. Some of them also have less optimum use-case scenarios.
B-tier items are extremely niche choices that might also be pretty hard to use.
Image via Oro
S-tier
Rocket Launcher: The Rocket Launcher fires a homing missile that locks onto a target and stuns them upon impact. It's a very easy item to use that's amazing against a single opponent. The stun lasts for a while, opening a window where you can take your shot in peace. The rocket also auto-aims and reduces the chance for you to miss your shot.
Spring Boots: This item allows you to jump forward and cover a lot of ground in quick time. This is my favorite tool when it comes to mobility. While it can't disrupt opponents like the Golf Cart, you put more efforts in your movement and reach the ball quicker.
Dueling Pistol: A single-shot pistol that stuns opponents. A simple and fun item that does what it says. It's pretty easy to find as well, but you need to be good with your aim. I advise going close to your opponent before firing the bullet.
Electromagnet: For most parts of the game, the Electromagnet will remain a low-tier item. The item provides a shield that lasts for a short duration. This shield blocks all projectiles and item attacks. It's the only defensive item in the game, and you need to save them for the final moment when you're one shot away from a win. Once active, even the Orbital Laser can't stun you.
A-tier
Air Horn: The Air Horn disrupts the concentration of a player when they're charging their shot, and causes them to overhit. While the Air Horn is the best tool to troll an opponent, you need to wait for them to take a shot. If they're not taking a shot, the Air Horn isn't very useful.
Golf Cart: I initially considered the Golf Cart to be B-tier. The item allows you to move faster and run into other players. It can hold up to eight people, so you and your co-op buddies can travel together. The item has two benefits: it allows you to travel more quickly, so you reach the ball faster. Second, you can use it to hit an opponent and disrupt their attempts. However, the second part can be avoided easily by your opponent unless they're not paying attention.
Coffee: The Coffee grants you a speed boost that lasts for 10 seconds. The boost feels nice and raises your chances of winning when used in a strategic fashion. However, the boost doesn't last very long (you can also waste it if someone stuns you when the boost is already active).
B-tier
Landmine: The Landmine places three explosives that stun players if they walk over the explosives. The stuns are great, but it's really easy to avoid them if someone is slightly careful. You have to place the Landmines in an extremely strategic fashion to make them count. However, your opponents can still avoid them by being careful.
Orbital Laser: This rare item calls down a massive laser in a marked spot. For starters, it's very hard to find Orbital Laser. Secondly, the laser shot gets wasted if your opponent moves out of the marked spot. They can do so accidentally as well, which reduces the usability of this tool.
Elephant Gun: While the rifle has two powerful shots that you can use to stun the enemy, I hate the knockback. The self-penalty reduces the item's usability in my books. If you have to use a gun, the Single Shot Pistol is a significantly better choice.
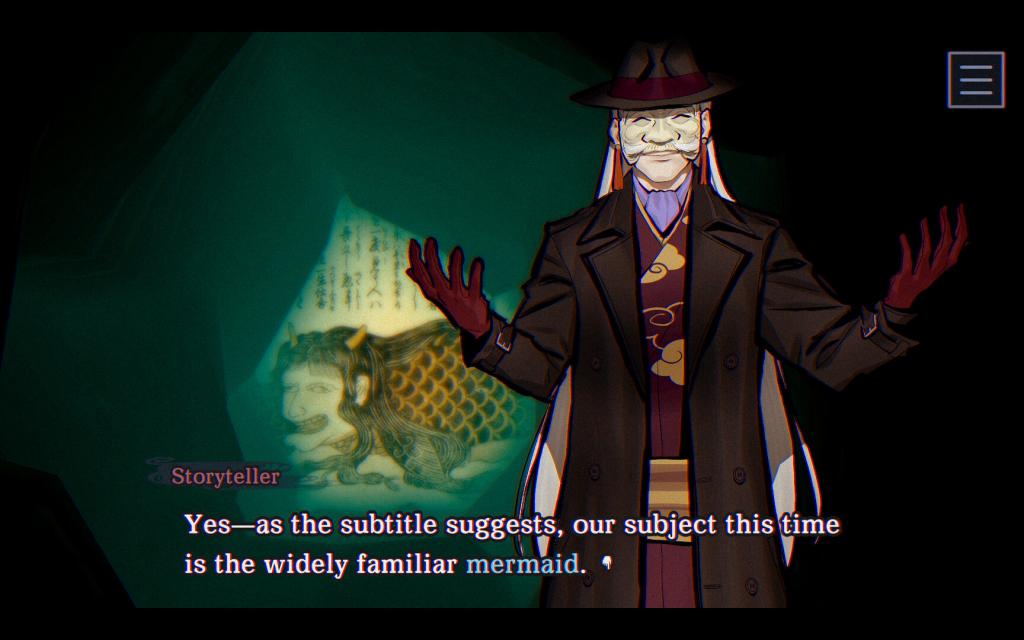
Paranormasight: The Mermaid's Curse offers different endings for you to unlock, and it can be a nightmare to reach them without knowing what to do.
The core gameplay of Paranormasight: The Mermaid's Curse is rather simple, as you read dialogs and make your choices. However, there are certain moments throughout the campaign where your decision-making will change the end.
How to unlock all endings in Paranormasight: The Mermaid's Curse
Before we can reach the true ending, you have to unlock five other outcomes. Some of the endings are tragic, but you have to unlock them to access the true ending.
Image via Square Enix
Kameshima
This appears to be the standard outcome, albeit it being a sad one. Your focus will be on chapters featuring Sato and Yuza.
Complete Yuza's timeline until you reach Time to Meet Up.
During the Tomokazuki chapter, tell Azami about the clone.
Next, change to Sato and play her episodes until she reaches the lightout in The Tragedy of Kameshima.
Wait for the culprit being the curse echo to be revealed.
Make Sato surrender to Kikuko.
Yuza will die, and the villains will corner the survivors.
Arnav Barnum
Polar opposite to the first ending, the focus shifts towards Arnav.
Start Possessions, and refuse the hand mirror when you speak with Kikuho.
Throw away Ikoma's business card. This allows Arnav to steal the curse of Tomosighe.
Open Sato's Claim chapter, and fail to convince Arnav to hand over the Tamatebako.
First, pick Deny, and then pick I want to thank one.
Finally, complete An Exciting Ise-Shima Adventure.
While Arnav becomes an immortal legend, the island becomes a hell (well, not literally).
Arnav Barnun's downfall
This ending is pretty similar to the previous one, but there are some fine changes.
Begin with Arnav's Possessions chapter.
Refuse the hand mirror to Kikuko, but also keep Ikoma's business card. This makes Arnav murder Kikuko.
Switch to Sato's Claim chapter, and once again, pick Deny, and I want to take one.
Complete Arnav's chapter to reach the ending. While Arnav still becomes immortal, he disappears after being framed for a different curse murder.
Taina No Tomosighe's Desire
Image via Square Enix
This ending revolves around the Tamatebako, with the starting point being the Possessions chapter.
Refuse the mirror, throw away Ikoma's business card, and switch to Sato's Claim chapter.
Convince Arnav to give the box to you, and choose the Admit, Please, I need it, and Tell the truth options.
Change to Yuza's To The Sanctuary chapter, and break the Raging Waves curse.
Ignore We Need a Plan, and switch to Sato's Real Name instead. Choose Obey Tomoshige.
This saves the island, but Sato will die alongside Tomoshige.
Curse of Sato
For this ending, the setup is identical to the previous one.
First, begin with Sato's Real Name chapter.
Confront Tomoshige and choose Refuse.
Next, begin the We Need a Plan chapter.
Pick Circe with Shikigami and Sodo with Feast of Shadows. This setup counters Ikoma.
Start the Conclusion chapter with Yuza.
When asked if there's a way to prevent Sato from dying, select the "..." option.
While you prevail in saving the island, Sato has just one day to be alive.
Paranormasight: The Mermaid's Curse Meta Puzzle (True Ending) solution
Once you've unlocked all five endings mentioned above, we can work towards unlocking the main one. To do so, you'll have to solve a sequence.
Image via Square Enix
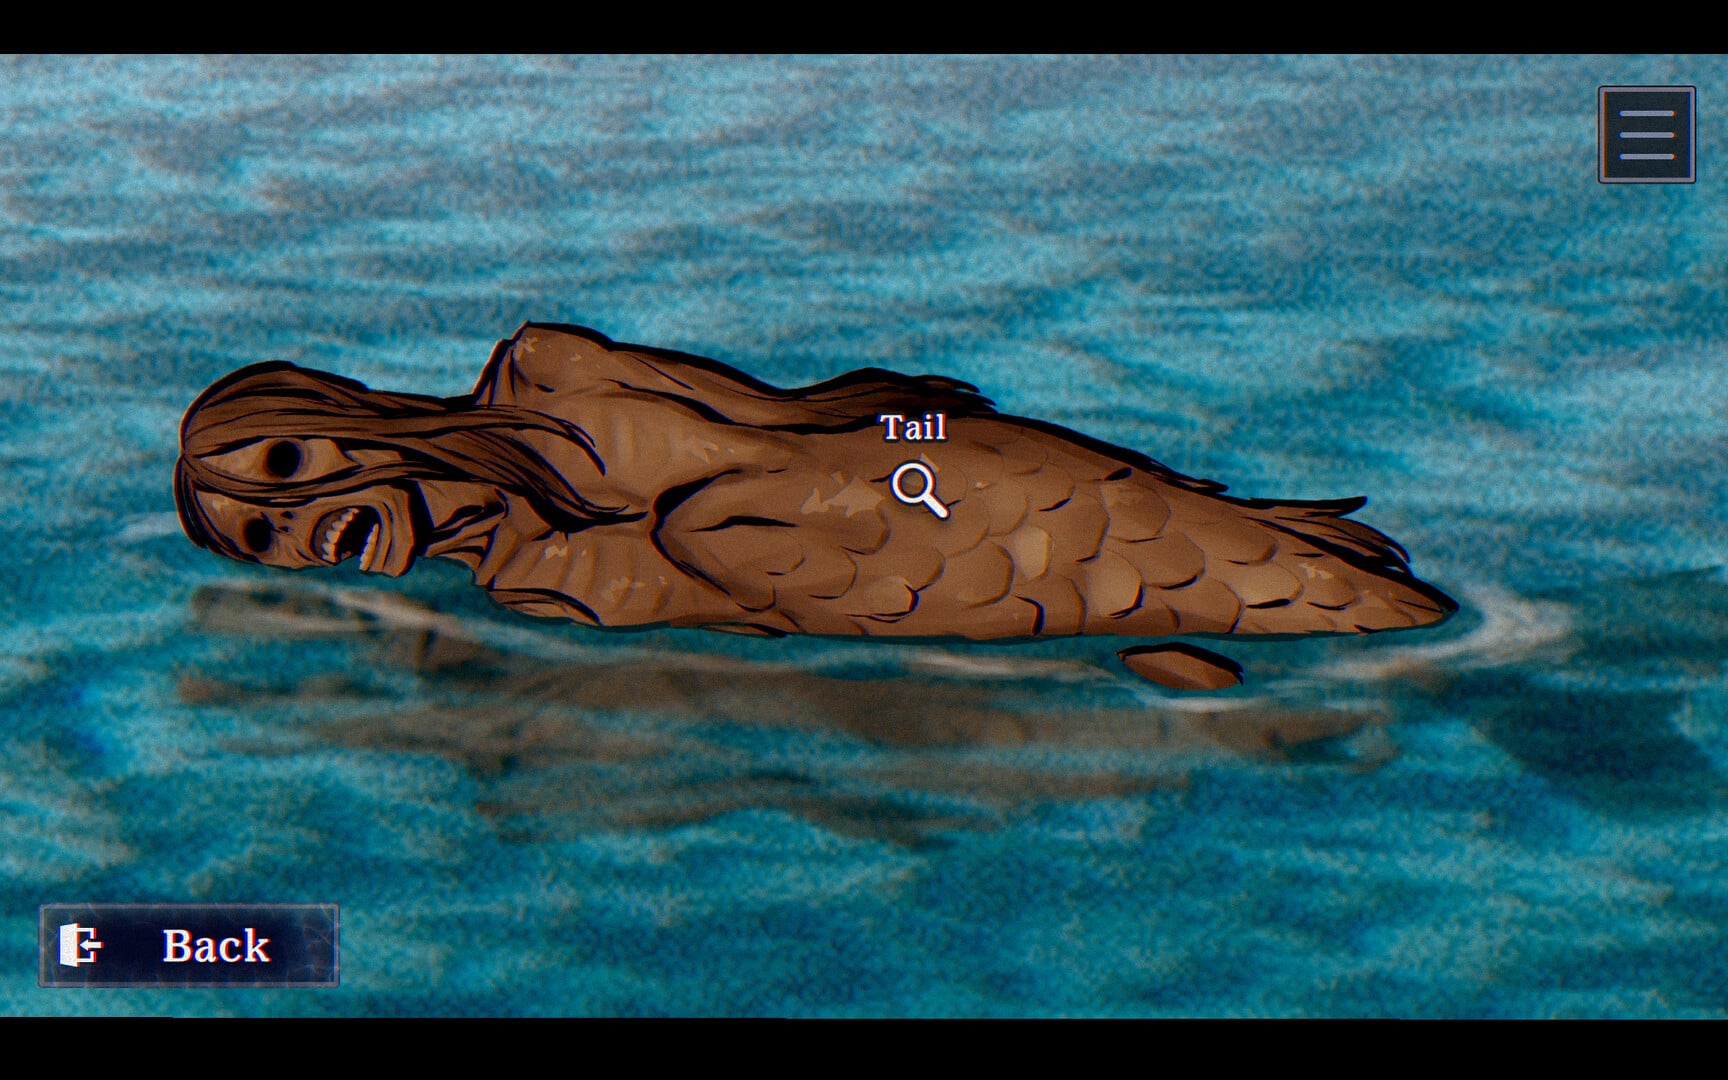
In the Point of Contact chapter, look at the ground behind Sato. Pick up the Kameshimaru keychain, which marks Tsusaka as the contact person.
In the Main Menu load screen, scroll down to the bottom of your slots. You'll find a blurred file; load it to view the Mermaid's memory.
In Sato's Claim chapter, begin at the Minakuchi Residence. You'll find the scale at the Altar Shelf. Pick Put it in the Tamatebako option, and read the hidden rules from the chat log menu.
In the Main title screen, click four times on the Mermaid. There needs to be a gap of three seconds before each click. If done correctly, you'll get a prompt. Type Yuza when that happens.
In Yuza's Conclusion chapter, begin in the Bay Area. You'll be able to see and pick the Actually... option when asked if anything can be done.
Yes, the sequence isn't easy to reach, but hopefully, the guide will help you out.